Trying to pick a travel tripod (especially on a budget!) can be a daunting task. There are so many articles like, “10 best travel tripods” but you know the person who wrote it hasn’t even used them! Plus, if it’s your first tripod, you might not even know what to look for: How much should a tripod weight? How can I know if it’s stable enough? What kind of quality is going to make me trust it to hold up my precious camera!
There is a sea of choice and as beginners looking for information it’s hard to know what’s going to be best.
I’m writing this article because I am passionate about my tripod! No joke! I love the photos I can take with it, and I think everyone who wants to take better photos on their trips should consider getting a travel tripod.
And, unlike most super-long list articles you’ll find in Google, I personally own and purchased the tripods in this guide. I have used them EXTENSIVELY in all kinds of conditions – from taking low-profile self portraits in Brazil, to dynamic northern lights photos in Iceland, long exposures of the Danube in Budapest, and basically bringing a tripod on every single trip I take!
I’ll share with you the process I went through choosing a tripod, what to look for in a travel tripod, how to pick the best budget travel tripod for your needs (and exactly how cheap you can safely go), and exactly which carbon fiber travel tripod under $100 that I’ve used for years and love. Let’s get started!

Why do you need a travel tripod?
This is a bit of a leading question, because not everyone needs a travel tripod. Even with a tripod, you’ll still take most of your photos by hand on any given trip. So why should you get a tripod in the first place? In my eyes, a travel tripod is a piece of equipment that is actually cheaper than most of the best travel photography lenses and can dramatically improve and professionalize the kind of photos you’re able to take. Loads of photos are just impossible unless you have a tripod.
Here are a few reasons you might need a travel tripod:
- Capture super sharp images in low light with slow shutter speeds. For example, taking photos after sunset, indoors, or at night. Without a tripod these photos can be blurry because you are not still enough to take the photo, which is known as “camera shake”.
- Take pictures of yourself while traveling, especially if you are traveling alone or have very specific ideas of how you want the shot! This is one of my main uses of my tripod. I also love using it to take pictures of myself and whoever I’m traveling with – it’s no fun if all your photos are just one person or the other.
- Create long exposure photos, for example of the night stars, silky smooth waterfalls, northern lights, or cityscapes at night. These kinds of photos you just can’t take without a stable and secure tripod setup and a proper camera with timer functionality.
- Shoot video, because as you may know, shooting video hand-held without gimbal usually results in ultra-shakey footage. Many tripods have a panorama option that makes it easy to pan your shot in a smooth and even way!
- Become famous on instagram – Joking? But maybe not?
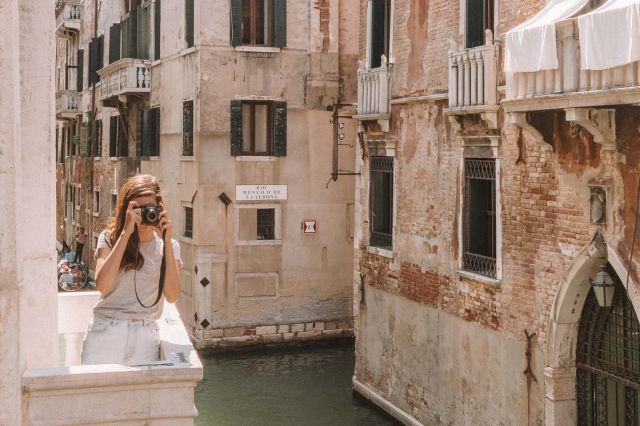
The reality is, there are SO MANY cool and creative things you can do when you have a tripod at your disposal. Here are a few photos to illustrate some basic tripod photo benefits:


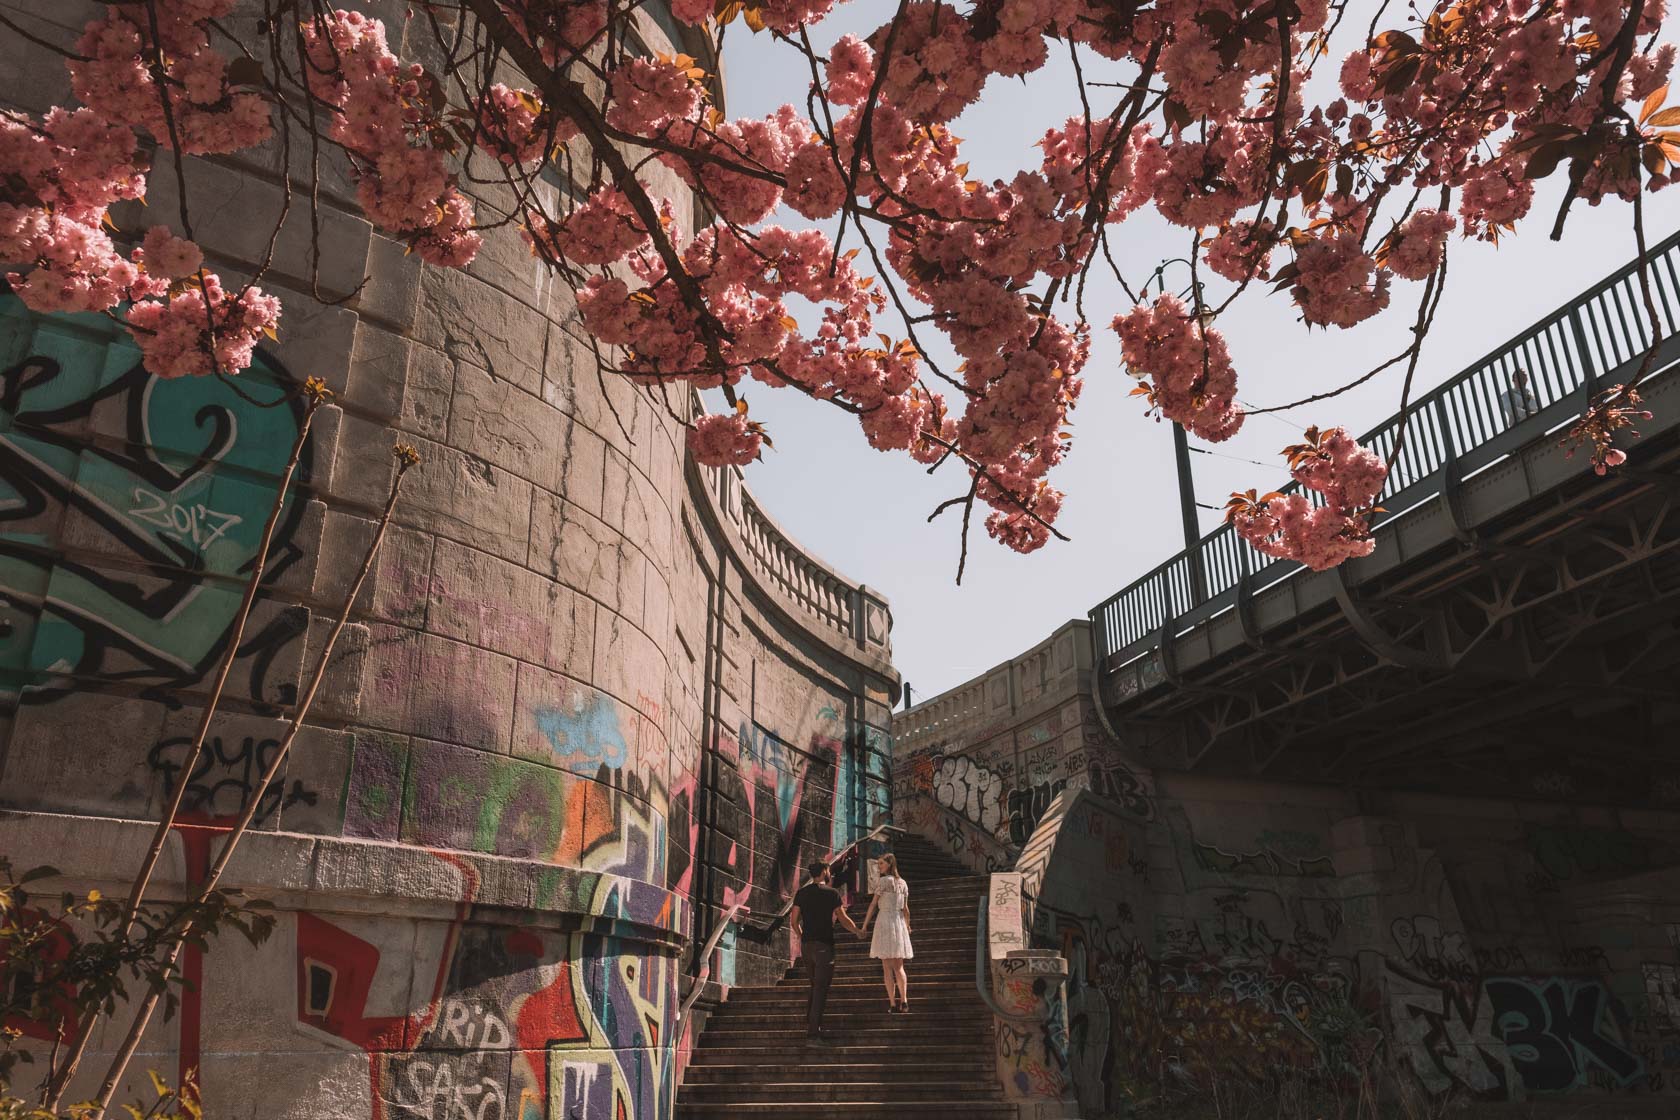
You might think we looked lame taking our own photo, but hey, it’s a really cool picture and the onlookers are probably just jealous at our tripod game!
Now that you have an idea of the benefits of owning a travel tripod, here are a couple of the main things you want to look for when making your selection.
Features to look for in a travel tripod
What’s the big deal? When you look at most tripods, especially those compact enough for travel, they all kinda look the same right? Three legs, a swivel head, and maybe some knobs and dials just to make it look complicated. How much variation can there really be?
Quite a lot, in fact! Each component of the tripod contributes to how light it is, how easy it is to use, how durable it will be, and how useful it remains while being compact.
Here are a couple of key considerations you’ll want to think about when you choose a travel tripod:
- Good build materials – Ideally you can find an affordable carbon fiber tripod, because the material is stronger, lighter, and rust-resistent. However, it’s also common to use aluminum for travel tripods.
- Minimum and maximum height – Consider both how low and how high the tripod can extend. You want something that will allow you to get very low if needed, but also something higher than eye level.
- Compact folding size – Compact tripods still come in a bunch of different sizes. Compare the folding size versus how tall it can extend to versus stability, as you need to make trade-offs.
- Quick and easy set up – The fact is, if your tripod is a pain to set up you’re just going to leave it at home or in the hotel room. Look for something with twisting locks for the legs rather than clips!
- Lightweight – You should be able to carry around the tripod in your travel camera bag backpack or with a strap without noticing it all day! Again, if it’s too heavy, you’re more likely to leave it at home.
- Carrying features – One thing I love about my tripod is it has a clip for a carrying strap. This is a much more convenient way than keeping the tripod on your backpack.

If it takes too long to set up your tripod, you won’t want to fiddle with it in cold conditions! Pick a tripod you can really see yourself using.
Best budget travel tripods: two recommendations
I own and regularly use both of these tripods that I’m going to compare for you today, and share my experiences working with them. I’ve had the Rollei for about 3 years, and the JOBY for about 2 years. Each of them has visited some exotic locations with me, and has some unique pros and cons. Both have held up very well to a lot of abuse in my backpack or traveling around, and both have helped me capture very special photos I couldn’t take without them and belong as part of my set of minimal photography gear.
-
Rollei Compact Traveler Carbon Fiber Tripod No. 1
- My favorite tripod. I bring this with me
on every trip and have used it in a wide variety of situations and conditions.
Ultra affordable for a carbon fiber tripod! Most carbon fiber tripods will cost you $30-40 more at a minimum.
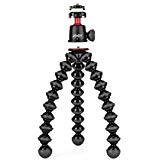
- JOBY GorillaPod - My secondary tripod. I bring this on trips where I want to keep a low profile and take up minimal space. This tripod can fit in just about any backpack or purse.
Scroll down for the pros and cons of each tripod, and when each tripod is appropriate to use, as well as the alternative tripods I considered that still fit in the budget!

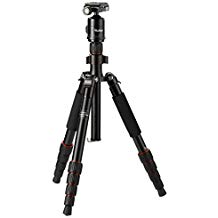
Rollei Compact Traveler Carbon Fiber Tripod No. 1
This tripod is my baby. It has a really great balance between being compact and being stable and not flimsy. It folds up to under 13” (or 33cm) and weighs just 900 grams! I can walk around all day using the travel strap that came with it, and not even notice I have it on.
When I need to set it up, I’m pretty sure I can do it in under 20 seconds. You can easily loosen all the joints of the legs, extend them, and re-tighten them in a fluid motion. I know that if it was too annoying to set up, I wouldn’t bother bringing the tripod at all, so I’m glad it’s so quick and easy to do.
| Pros | Cons |
|
|
One thing you should know is that Rollei is a German brand. I live in Germany and know the brand well, but it’s not as well-known in the US! Maybe that’s why the tripod is cheaper on Amazon USA, and doesn’t have that many reviews yet (though the ones it does have are all very positive). Even though there are better-known American brands, I think the phrase “Deutsche Qualität” (“German Quality”) really rings true here. Again, I don’t know of another carbon fiber tripod at $100!
The next comparable carbon fiber tripod by Manfrotto costs 3x as much! You can also find a similarly priced carbon fiber travel tripod by Zomei but it doesn’t fold as small and weighs more than twice as much as the Rollei.

JOBY GorillaPod
I originally bought my GorillaPod because I was traveling to Brazil and for the most part, I was doing sight-seeing alone. That meant that if I wanted to get cool photos of myself, I’d need to be taking them! However, Brazil isn’t known as the safest place to walk around with a camera, much less a tripod on your back that screams, “I have expensive things please taken them!” 😂
So I decided to go for a cheaper tripod that didn’t look as fancy, which could easily fit in my backpack. For the most part it worked out really well! Of course, the GorillaPod is more limited but depending on where and how you travel, it can also be a really good option!
| Pros | Cons |
|
|
Which is the best budget travel tripod for you?
In the end, the question is mostly about how you want to use it! If you’re looking for an all-around excellent travel tripod, the Rollei Carbon Fiber Travel Tripod is an excellent deal for the money and will last you years. On the other hand, if you’re looking for something more low-profile or your number 1 concern is weight above all else, consider getting a GorillaPod . Or, you can have both for different ocassions!

Products mentioned in this post
Here are the two products mentions and recommended in this article. Check them out if you’re in the market for a travel tripod you’ll actually bring everywhere with you.
 Rollei Compact Traveler No. 1 Tripod (Carbon)
My de facto travel tripod. I've had it for 3+ years and use it all the time. Compact, sturdy, and durable!
 JOBY GorillaPod 5k Compact Tripod
My travel tripod for bringing around town or to stay discrete in certain destinations.